Simplest Method of Making Anaglyph Images with Photoshop
Isaac Cheung
Co-founder of ViCGI.com
Introduction
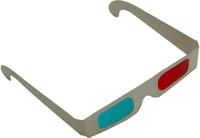
Anaglyph images are images with 3D effect when viewed with a 2 color red and cyan glasses. People in the 3D industry, epecially in lenticular printing, normally use anaglyph image to test their 3D rendering result as an intermedia step. The Internet has many tutorials on teaching how to make anaglyph images. But in my opinion the methods are unnecessarily too complicated. In this article I will present a simple 1-2-3 step for making anaglyph image using the very basic functions of Photoshop.
Step - 1
Take two pictures along a straight line with some distance. Unlike the case of making lenticular prints, the precision requirement of making anaglyph is not very tight. You can take your pictures by moving the camera on a flat surface. Try to use a rigid ruler to guide the camera when you move the camera from left to right. The distance between the first picture on the left and the second picture on the right should be about 2.5 inch (or 65mm).
In this tutorial we are going to use the following two pictures.
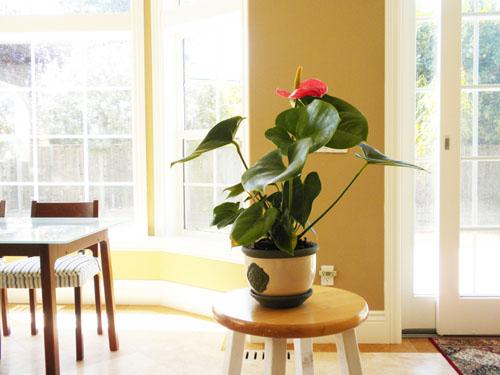 Left Picture
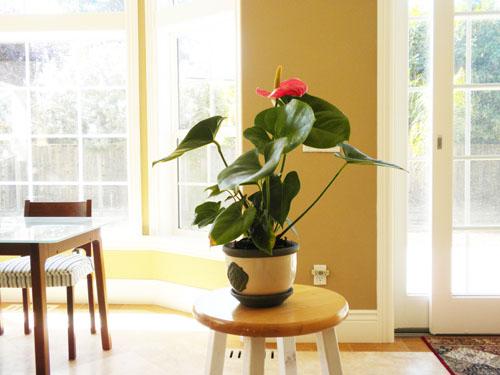 Right
Picture
Right
Picture
Step 2
Open both pictures into Photoshop.
Put the left picture into the clipboard and paste it over to the right picture
so the left picture is on top of the right picture as show.
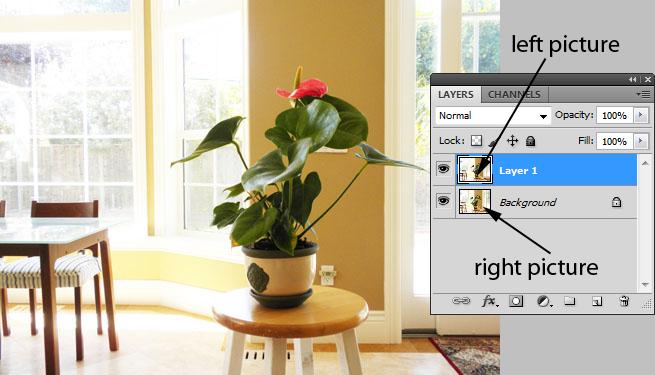
Step 3
Double click the Layer 1 (the left picture layer) to bring
up the [Layer Style] dialog,
then un-check the B and G check boxes under [Advanced
Blending].
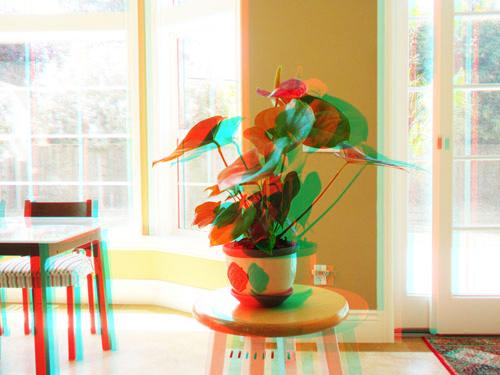
And voila! Your anaglyph image is done. Now you can view the picture with a pair of red-cyan glasses.