After shooting the assignment-
Loading the files in the computer and organizing them.
Turn camera off
Remove memory card from camera (faster than attaching camera to computer)
Put memory card in computer or card reader (there is only one correct way- do not force) The computer has a slot for SD cards - use an external reader for other card types.
Memory card will show up on your desktop. Make sure your card has a name (use your initials- in case you lose your card it can be identified)
Create a folder for the assignment on the desktop, create a subfolder for "shoot"
Copy and paste the photos from this shoot on your card into the folder on the desktop.
You can now remove your card from the reader-
do not just take it from the reader... You have to "drag it to the trash" or eject the card before removing.
Rename all your images in Adobe Bridge
Rename your files
Identify your files with the Semester, Initials and Assignment
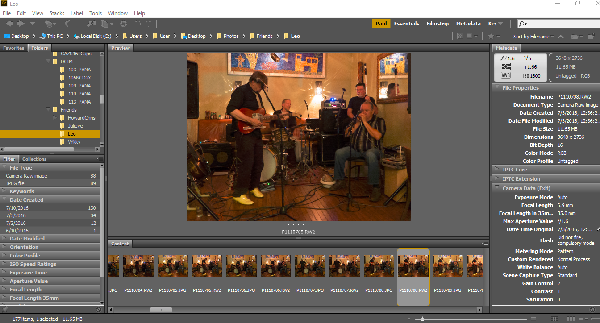
Open Adobe Bridge program.
Find your folder to look at thumbnail images of your folder.
Select all images.
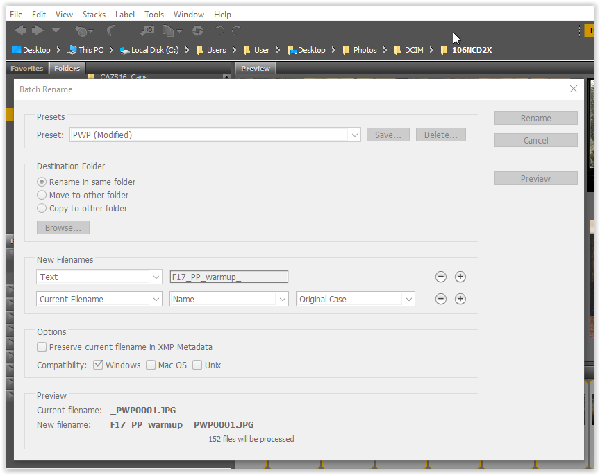
go to Tools/Batch Rename
Use only two lines of attribution -
(1)Line one - TEXT - Use F18M + underscore _last name initials, abbreviate assignment (WU for warmup)
(2) Line two - Use current filename
example for Paul Pearce: F18_PP_wu_CIM00216 "cim00216" is the filename from the camera, it is put in automatically for each file
Keep all your original images. Do not delete any images- we can learn from our mistakes.
Open your folder on the student share drive.
Copy the assignment folder from the desktop to your sharedrive folder (now you have 2 copies - one is your backup on the desktop)
Rate your images using the star rating - 5= best 1= loser.
Back up images on your removable drive.
Fill out the Self Evaluation Form to report your sucess and problems